Category: Disaster Recovery
Moving a VMware Horizon View virtual desktop between separate Horizon View environments
Requirements:
Sometimes you may build two distinct VMware Horizon View environments for separate business units, for Disaster Recovery, or for testing purposes.
In that case, a need may arise to move a virtual desktop between the independent Horizon View infrastructures.
Assumptions:
There are many ways Horizon View may be configured. However, this article assumes the following settings in both environments:
- Manual, non-automated, dedicated pools for virtual desktops
- Full clone virtual desktops
- All user data is contained inside the virtual desktop, most likely on drive C
- All virtual desktop disks (vmdks, C and others) are contained within the same VM directory on the storage
- Storage is presented to ESXi through the NFSv3 protocol
- Microsoft Active Directory domain is the same across both sites
- VLANs/subnets the same or different between the two sites
- DHCP is configured for the desktop VM in both sites
- Virtual desktop has Windows 7 or Windows 10 operating system
- Connection Servers do not replicate between environments
- No Cloud Pod federation
- Horizon View v7.4
- vCenter VCSA 6.5 Update 1e
- ESXi 6.5 for some hosts and 6.0 Update 3 for other hosts
There are other ways to move a virtual desktop when the Horizon View is setup with automation and Linked Clones, but they are subject for a future article.
The first Horizon View infrastructure will be called “Source” in this article. The second Horizon View infrastructure, where the virtual desktop needs to be moved, will be called “Destination” in this article.
Instructions:
- Record which virtual desktop names are assigned to which Active Directory users on the Source side. You can do that by Exporting a CSV file from the Pool’s Inventory tab.
- If the Source Horizon View infrastructure is still available (not destroyed due to a disaster event), then continue with the following steps on the Source environment. If the Source Horizon View infrastructure has been destroyed due to a disaster, go to Step 9.
- Power off the virtual desktop. Ensure that in Horizon View Manager you don’t have a policy on your pool to keep powering the virtual desktop on.
- In Horizon View Manager, click on the pool name, select the Inventory tab.
- Right click the desktop name and select Remove.
- Choose “Remove VMs from View Manager only.”
- In vSphere Web Client, right click the desktop VM and select “Remove from Inventory.”
- Unmount the NFSv3 datastore that contains the virtual desktop from Source ESXi hosts.
- At this point how the datastore gets from Source to the Destination will vary based on your conditions.
- For example, for testing purposes, the NFSv3 datastore can be mounted on the Destination hosts.
- In case of disaster, there could be storage array technologies in place that replicate the datastore to the Destination side. If the Source storage array is destroyed, go to the Destination storage array and press the Failover button. Failover will usually make the Destination datastore copy Read/Write.
- Add the NFSv3 datastore that contains the virtual desktop to the Destination ESXi hosts, by going through the “New Datastore” wizard in vSphere Web Client.
- Browse the datastore File structure. Go to the directory of the virtual desktop’s VM, find the .vmx file.
- Right click on the .vmx file and select “Register VM…”
- Leave the same name for the desktop VM as offered by the wizard.
- Put the desktop VM in the correct VM folder and cluster/resource pool, that is visible by the Destination’s Horizon View infrastructure.
- Edit the desktop VM’s settings and select the new Port Group that exists on the Destination side (if required).
- Power on the desktop VM from the vSphere Web Client.
- You might get the “This virtual machine might have been moved or copied.” question.
- When vSphere sees that the storage path of the VM does not match what was originally in the .vmx file, you might get this question.
- Answering “Moved” keeps the UUID of the virtual machine, and therefore the MAC address of the network adapter and a few other things.
- Answering “Copied” changes the UUID of the virtual machine, and therefore the MAC address of the network adapter and a few other things.
- In the majority of cases (testing, disaster recovery), you will be moving the desktop virtual machine from one environment to another. Therefore, answer “I Moved It,” to keep the UUID and thus the MAC address the same.
- Wait until the desktop virtual machine obtains the IP address from the Destination’s DHCP server, and registers itself with the DNS server and Active Directory.
- Remember, we are assuming the same Active Directory domain across both sites. As a result, the desktop VM’s AD computer name and object will remain the same.
- Monitor the IP address and DNS assignment from the vSphere Web Client’s Summary tab for the desktop VM.
- In Destination’s Horizon View Manager, click on the Manual, Full Clone, Non-automated, Dedicated pool that you have created already.
- If you did not create the pool yet, create a new pool and put any available VM at the Destination in the pool. The VM that you put will just be a placeholder to create the pool. Once the pool is created, you can remove the placeholder VM and only keep your moved virtual desktops.
- Go to the Entitlements tab and add any user group or users to be entitled to get desktops from the pool. Most likely, it will the the same user group or user that was entitled to the pool on the Source side.
- Select the Inventory tab and click the Add button.
- Add the desktop VM that you just moved.
- Check the status of the desktop VM. First, the status will say “Waiting for agent,” then “In progress,” then “Available.”
- Right click on the desktop VM and select Assign User.
- Select the correct Active Directory user for the desktop.
- As the user to login to the virtual desktop using Horizon View Client or login on behalf of the user.
- For the first login after the move, the user may be asked by Windows to “Restart Now” or “Restart Later.” Please direct the user to “Restart Now.”
- After the restart, the user may utilize the Horizon View Client to login to the Destination’s moved desktop normally.
Collateral for my session at VMware TechTalk Live 3-11-14
 Thank you to attendees of my session on Stretched Clusters with Vplex at VMware TechTalk Live 3-11-14!
Here is the session slide deck:
CDI-VMware TechTalk – Yury Magalif – Stretched Clusters with Vplex Rev02
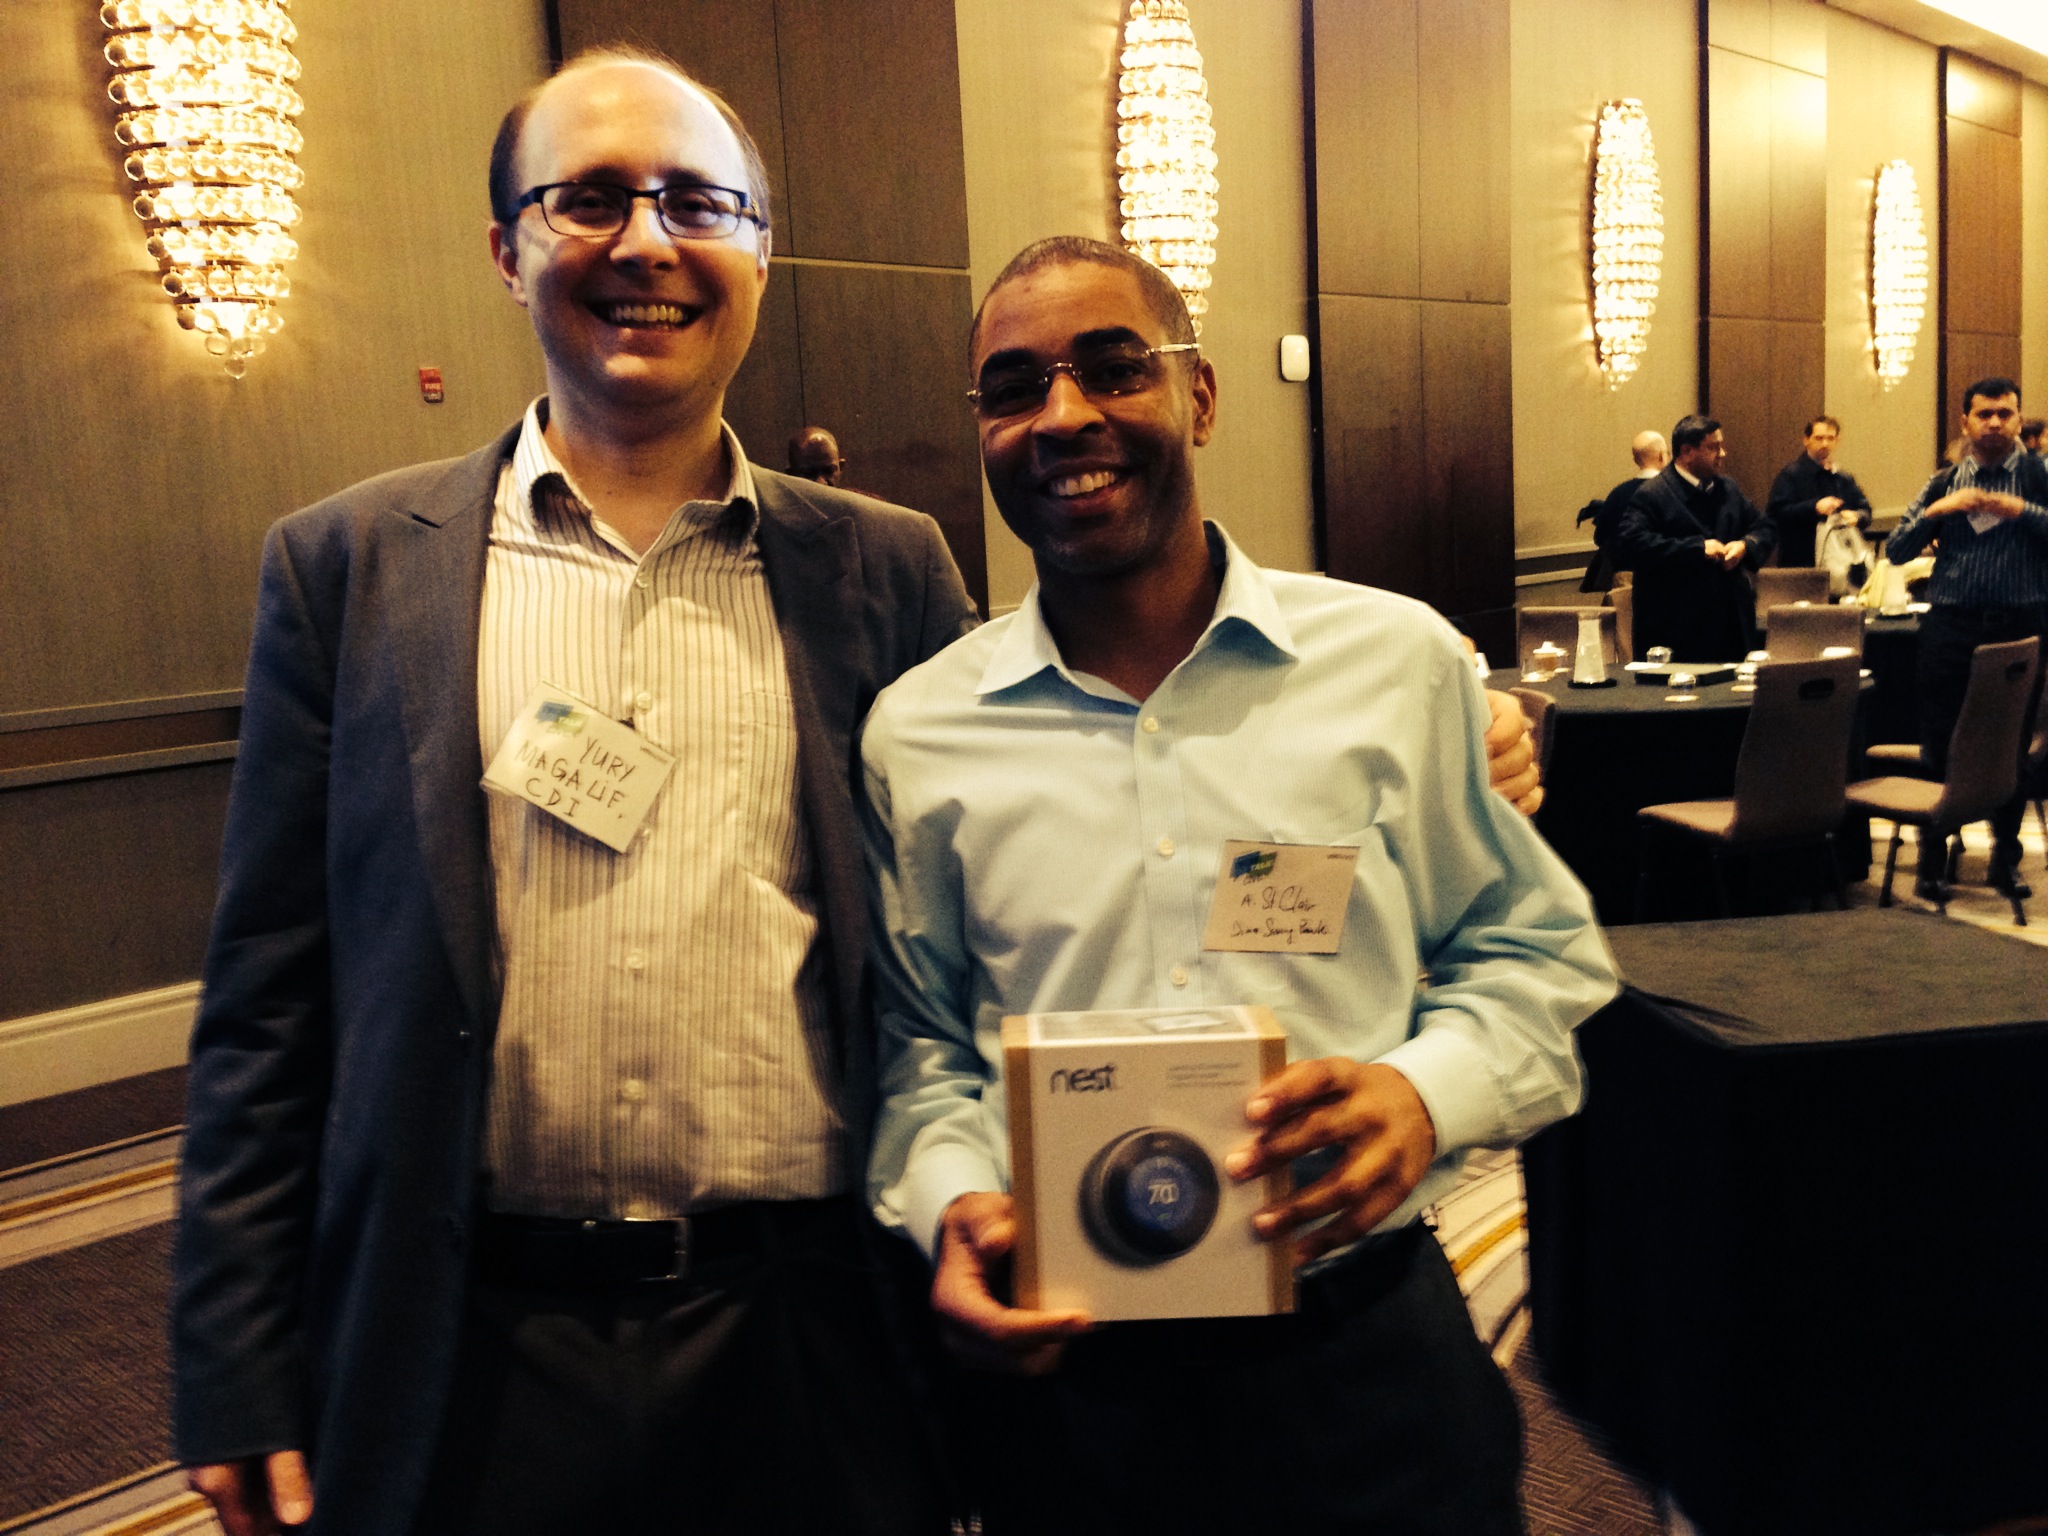
Pictured here is Alexis St. Clair, who won the Nest programmable thermostat raffle. The Nest was offered by my company CDI, the sponsor of the event, along with VMware and EMC.
Twitter Chat for remaining questions:
March 12, 2014, Wednesday
2 pm to 3 pm EST
Use Hashtag #CDIVplex in your questions.
My presentation is called “Stretching VMware clusters across distances with EMC’s Vplex – the ultimate in High Availability.”
This session is for administrators and consultants looking to stretch their VMware clusters across 2 geographical sites for enhanced High Availability and Disaster Recovery. Readers will learn:
- Differences between High Availability and Disaster Recovery approaches.
- When to use VMware Stretched Clusters vs. VMware Site Recovery Manager.
- How to decrease your Recovery Time Objective across sites to under 5 minutes.
- Minimum storage, network and compute requirements for VMware Stretched Clusters.
- What is distributed storage and how it helps with VMware Stretched Clusters.
- What is EMC’s Vplex?
- How Vplex allows you to configure VMware Stretched Clusters.
- Best practices for VMware Stretched Clusters with EMC’s Vplex.
